How to Create High-Quality Profile and Header Images for Your Facebook Group
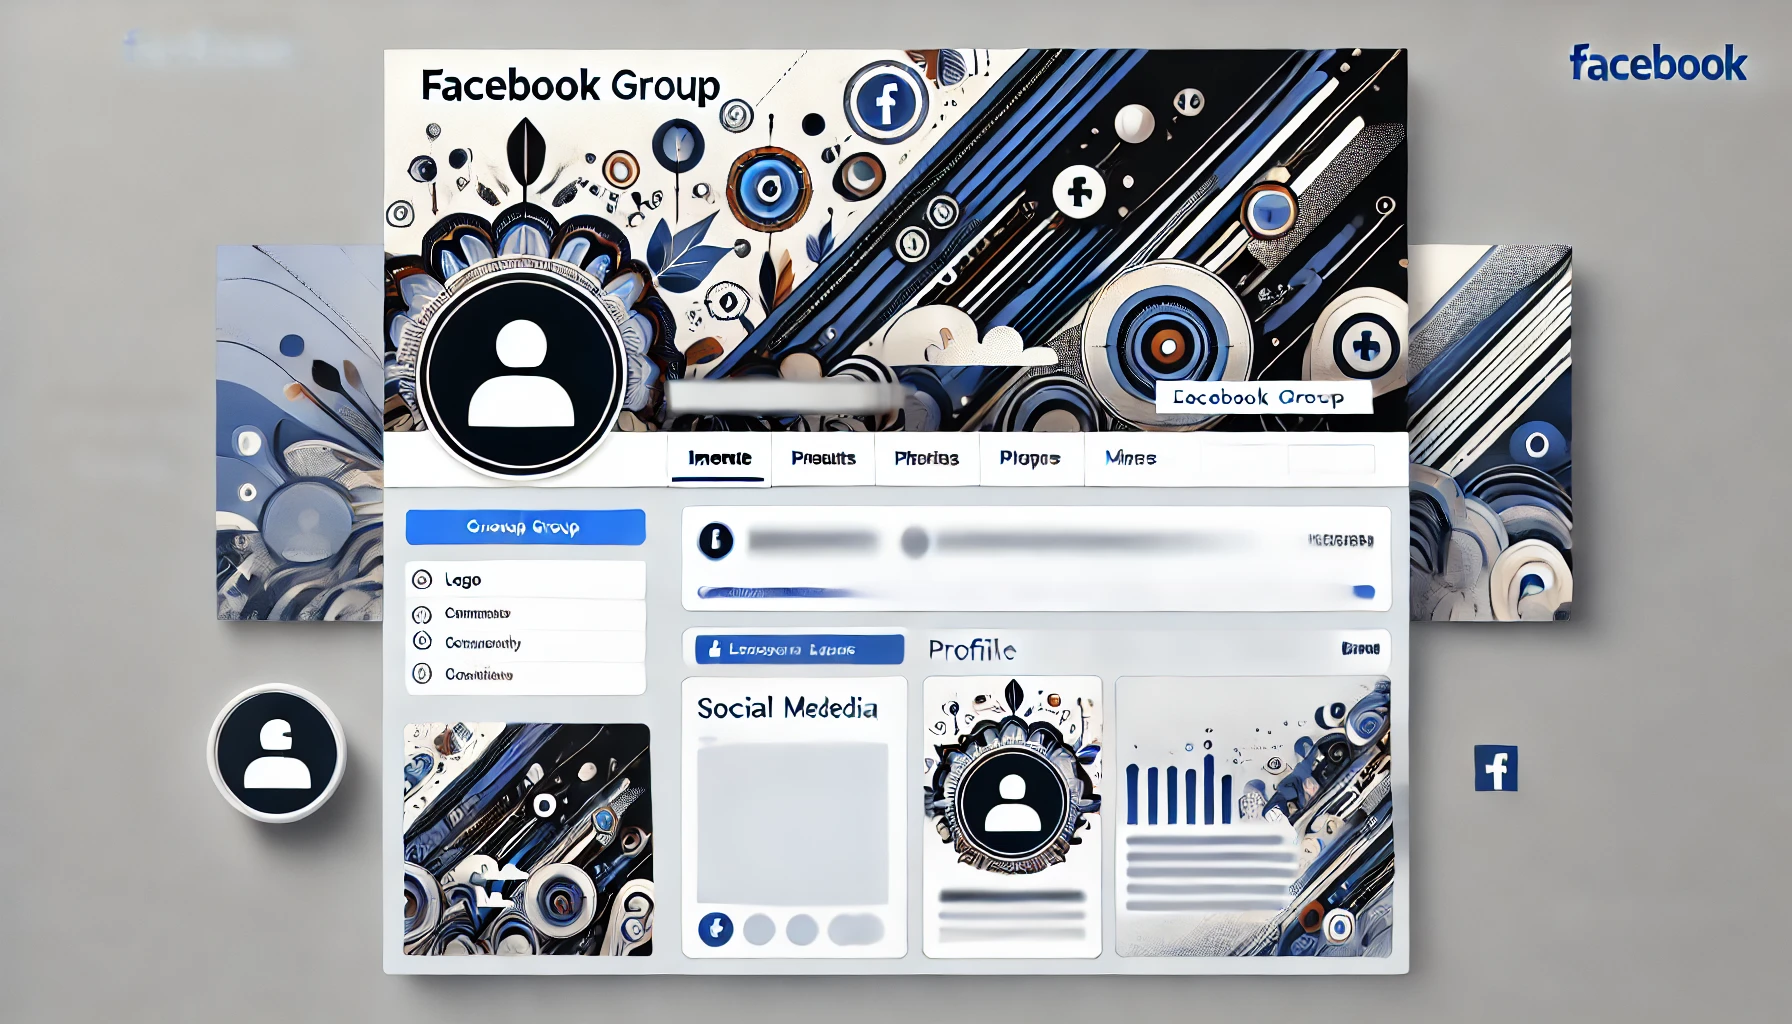
First impressions matter, and the profile and header images for your Facebook group play a crucial role in attracting and engaging new members. A visually appealing and professional design not only boosts credibility but also sets the tone for your community. In this guide, we’ll break down the steps to create stunning images that reflect your group’s identity and capture attention.
Why Quality Profile and Header Images Are Important
Profile and header images are often the first things potential members see. A well-crafted design can:
- Create a strong brand identity for your group.
- Convey the group’s purpose and tone immediately.
- Encourage more people to join and participate.
- Make your group look professional and well-managed.
1. Ideal Sizes and Dimensions
Before creating the images, ensure you’re using the correct dimensions to avoid stretching or pixelation:
- Profile Image: 170 x 170 pixels (displays as 128 x 128 on desktop).
- Header (Cover) Image: 1640 x 856 pixels (recommended size for groups).
- Safe Zone for Text and Logos: Center your main text or logo within 640 x 360 pixels to ensure it’s visible on all devices.
2. Tools to Create Images
You don’t need to be a professional designer to create beautiful images. Here are some user-friendly tools:
- Canva: Offers free templates specifically for Facebook covers and profile images. Easy drag-and-drop functionality.
- Adobe Express: Simplified design tool with pre-made social media templates.
- Figma: Great for advanced customization and collaborative design.
- Crello (VistaCreate): Simple yet effective for creating stunning graphics quickly.
3. Design Best Practices
Follow these design principles to ensure your images are eye-catching and professional:
- Use High-Resolution Images: Avoid blurry or pixelated photos. Use high-quality graphics and logos.
- Keep It Simple and Clean: Don’t overload the image with text or too many design elements.
- Reflect Your Group’s Theme: Use colors, fonts, and imagery that align with your group’s niche or purpose.
- Ensure Readability: If adding text, choose clear fonts and ensure there’s enough contrast with the background.
- Incorporate Branding: Include your logo, group name, or tagline in the design to reinforce your brand.
4. How to Add or Update Your Images
Once you have your images ready, follow these steps to upload them:
- Go to your Facebook group.
- Click on the existing cover image or the camera icon near the profile image.
- Upload the new photo and adjust the positioning if needed.
- Click “Save Changes” to update.
5. Bonus Tips for Standing Out
- Seasonal Updates: Change your header image to reflect holidays, promotions, or special events.
- Consistency: Maintain a consistent look across all social media platforms for brand recognition.
- Interactive Elements: Use calls-to-action (CTA) subtly, like “Join Us” or “Learn More” within the design.
Conclusion
Creating high-quality profile and header images doesn’t have to be complicated. With the right tools and design approach, you can create visuals that make your Facebook group stand out and attract the right audience. Start designing today and give your group the professional look it deserves!


